How To Reseal Marble: A Comprehensive Guide To Restore Your Marble’s Beauty
Have you ever wondered how to reseal marble? If your marble surfaces have lost their luster or started showing signs of wear and tear, don’t worry—you’re not alone. Marble is one of the most stunning natural stones out there, but it’s also pretty sensitive to damage if not properly maintained. Resealing your marble is like giving it a spa day—it rejuvenates its appearance and keeps it protected from future harm. Let’s dive right into this step-by-step guide so you can bring that luxurious shine back to life.
Marble is not just any stone; it’s a work of art in itself. From kitchen countertops to bathroom floors, marble adds an elegance that no other material can match. But here’s the thing—it’s porous, which means liquids and stains can seep in if it’s not sealed properly. Over time, this can lead to discoloration and damage. That’s why learning how to reseal marble is crucial if you want to keep it looking as good as new.
Don’t let the thought of resealing scare you off. It’s easier than you think, and with the right tools and techniques, you can do it yourself without breaking the bank. In this article, we’ll walk you through everything you need to know about resealing marble, from preparation to finishing touches. So grab your tools, roll up your sleeves, and let’s get started!
- Veneer Character Unveiling The Depths Beyond The Surface
- Unveiling The Truth Marie Dee Height And Her Remarkable Journey
Table of Contents:
- Preparation is Key: What You Need Before You Start
- Cleaning Your Marble Surface: The First Step to Success
- Choosing the Right Sealer: Not All Sealers Are Created Equal
- Applying the Sealer: Step-by-Step Instructions
- Essential Tools and Materials for the Job
- Pro Tips for a Flawless Finish
- The Benefits of Resealing Your Marble
- Frequently Asked Questions About Resealing Marble
- Common Mistakes to Avoid When Resealing Marble
- Long-Term Maintenance: Keeping Your Marble Looking Its Best
Preparation is Key: What You Need Before You Start
Resealing marble isn’t just about slapping on some sealer and calling it a day. Proper preparation is essential to ensure the process goes smoothly and the results are long-lasting. Here’s what you need to do before you begin:
First off, clear the area where the marble is located. This means moving furniture, appliances, or anything else that might be in the way. You want to have easy access to the entire surface without any obstructions. Think of it like cleaning out your garage before painting—it’s all about creating the right environment for success.
- What Are The Xmen Movies A Comprehensive Guide To The Mutant Marvel Saga
- Upright Bass Dimensions The Ultimate Guide For Bass Enthusiasts
Next, inspect the marble for any existing damage. Look for cracks, chips, or deep scratches that might need repair before sealing. If you spot any issues, address them first using a marble repair kit. Trying to seal over damaged areas won’t work and could lead to further problems down the road.
Finally, gather all the tools and materials you’ll need. We’ll go over these in more detail later, but for now, just know that having everything ready beforehand will save you time and hassle. Trust me, you don’t want to be halfway through the job only to realize you’re missing something important.
Why Preparation Matters
Skipping the prep work is like trying to build a house on sand—it might look okay at first, but eventually, it’s going to crumble. By taking the time to prepare properly, you’re setting yourself up for success and ensuring that your marble gets the best possible protection.
Cleaning Your Marble Surface: The First Step to Success
Now that you’ve prepped the area, it’s time to clean the marble surface. This step is crucial because any dirt, grease, or residue left behind can interfere with the sealer’s ability to bond properly. Here’s how to do it right:
Start by sweeping or vacuuming the surface to remove any loose debris. For countertops, use a soft cloth or sponge to wipe away crumbs and dust. You don’t want anything getting in the way of the cleaning solution.
Next, mix a gentle marble cleaner with warm water. Avoid using harsh chemicals or abrasive cleaners, as these can damage the stone. Gently scrub the surface with a soft brush or cloth, paying special attention to any stubborn stains or grime. Rinse thoroughly with clean water and dry the surface completely with a lint-free towel.
Let the marble dry completely before moving on to the next step. This might take a few hours, depending on the humidity levels in your home. Patience is key here—rushing the drying process can lead to uneven sealing.
Common Cleaning Mistakes
One of the biggest mistakes people make when cleaning marble is using vinegar or other acidic cleaners. These can etch the surface and cause permanent damage. Stick to pH-neutral cleaners specifically designed for marble to avoid any unwanted surprises.
Choosing the Right Sealer: Not All Sealers Are Created Equal
With so many sealers on the market, choosing the right one can feel overwhelming. But don’t worry—we’ve got you covered. Here’s what you need to consider when selecting a sealer for your marble:
First, decide whether you want a topical sealer or an impregnating sealer. Topical sealers sit on the surface of the marble and provide a protective layer, while impregnating sealers penetrate deep into the stone for long-lasting protection. Impregnating sealers are generally preferred for marble because they allow the stone to breathe while still providing excellent stain resistance.
Next, think about the finish you want. Some sealers leave a glossy sheen, while others maintain a natural matte look. If you prefer the classic elegance of unpolished marble, opt for a sealer that won’t alter its appearance. On the other hand, if you want to enhance the marble’s natural beauty, a glossy sealer might be the way to go.
Finally, consider the durability of the sealer. Some sealers last longer than others, so if you want to minimize the frequency of resealing, choose a high-quality product that offers long-term protection.
Recommended Sealers
Here are a few sealers that come highly recommended by professionals:
- StoneTech BulletProof Impregnating Sealer
- MBRT Stoneworks Sealer
- Seal Once Natural Stone Sealer
Applying the Sealer: Step-by-Step Instructions
Now that you’ve chosen the perfect sealer, it’s time to apply it. Follow these step-by-step instructions to ensure a flawless finish:
Step 1: Shake the sealer bottle well before use. This ensures that all the ingredients are evenly distributed.
Step 2: Using a clean, lint-free cloth or foam applicator, apply a generous amount of sealer to the marble surface. Work in small sections to ensure even coverage.
Step 3: Allow the sealer to soak into the marble for the recommended amount of time (usually 5-10 minutes). During this time, you might notice the marble darkening slightly—this is normal and indicates that the sealer is working.
Step 4: Wipe away any excess sealer with a clean cloth. Be thorough here—leaving residue behind can cause streaks or cloudiness.
Step 5: Let the marble dry completely according to the manufacturer’s instructions. This might take anywhere from a few hours to overnight.
Repeat the process if necessary, applying additional coats for extra protection. Most sealers recommend two to three coats for optimal results.
Tips for Application
Work in a well-ventilated area to avoid inhaling fumes. Also, wear gloves to protect your skin from the sealer. And remember, less is more—too much sealer can lead to a sticky, uneven finish.
Essential Tools and Materials for the Job
Having the right tools and materials on hand will make the resealing process much easier. Here’s a list of what you’ll need:
- Marble cleaner
- Sealer of your choice
- Lint-free cloths
- Foam applicator
- Soft-bristled brush
- Gloves
- Masking tape (optional, for protecting edges)
Having all these items ready will save you time and ensure a smooth workflow. Plus, it’s always nice to have everything organized before you start.
Pro Tips for a Flawless Finish
Want to take your resealing skills to the next level? Here are a few pro tips to help you achieve professional-grade results:
- Test the sealer on a small, inconspicuous area first to ensure it doesn’t alter the marble’s appearance.
- Work in sections to avoid the sealer drying too quickly.
- Use a fan or dehumidifier to speed up the drying process if necessary.
- Keep the area clean and free of foot traffic for at least 24 hours after sealing.
These little tricks can make a big difference in the final outcome. Don’t underestimate the power of attention to detail!
The Benefits of Resealing Your Marble
Resealing your marble offers more than just aesthetic benefits—it also provides practical advantages that will make your life easier:
First and foremost, sealing protects your marble from stains and damage. Whether it’s red wine spills in the kitchen or soap scum in the bathroom, a good sealer will prevent these substances from penetrating the stone and causing permanent harm.
Secondly, resealing enhances the marble’s natural beauty. The sealer brings out the rich colors and intricate patterns, making your marble look even more stunning than before.
Lastly, regular resealing extends the lifespan of your marble. By keeping it protected and well-maintained, you’ll enjoy its beauty for years to come without worrying about costly repairs or replacements.
Frequently Asked Questions About Resealing Marble
Still have questions? Here are some common FAQs about resealing marble:
Q: How often should I reseal my marble?
A: It depends on the type of sealer and the amount of use your marble gets. As a general rule, resealing once a year is a good practice, but some sealers may last longer.
Q: Can I seal my marble myself, or should I hire a professional?
A: With the right tools and guidance, sealing marble is definitely a DIY-friendly project. However, if you’re dealing with large or complex surfaces, hiring a professional might be worth considering.
Q: What should I do if my marble is already stained?
A: Try using a poultice to draw out the stain before sealing. This can help improve the appearance of the marble and prevent the stain from worsening.
Common Mistakes to Avoid When Resealing Marble
Even the best-laid plans can go awry if you make common mistakes. Here are a few pitfalls to watch out for:
Mistake #1: Using the wrong sealer. Make sure you choose a sealer specifically designed for marble to avoid damaging the stone.
Mistake #2: Skipping the cleaning step. A dirty surface can prevent the sealer from bonding properly, leading to an uneven finish.
Mistake #3: Applying too much sealer. Excess sealer can create a sticky, cloudy layer that’s difficult to remove.
By avoiding these mistakes, you’ll be well on your way to a successful resealing job.
Long-Term Maintenance: Keeping Your Marble Looking Its Best
Resealing is just one part of maintaining your marble’s beauty. Here are some tips for long-term care:
- Clean spills immediately to prevent stains.
- Use cutting boards and coasters to protect the surface.
- Regularly clean the marble with a pH-neutral cleaner.
- Reapply sealer as needed to maintain protection.
With consistent care and attention, your marble will remain a stunning centerpiece in your home for years to come.
In conclusion, learning how to reseal marble is a valuable skill that every homeowner should master. By following the steps outlined in this
- Revamp Your Split Level Exterior A Stepbystep Guide To Updating Your Homersquos Look
- Fleece Johnson Wiki Everything You Need To Know About The Rising Star

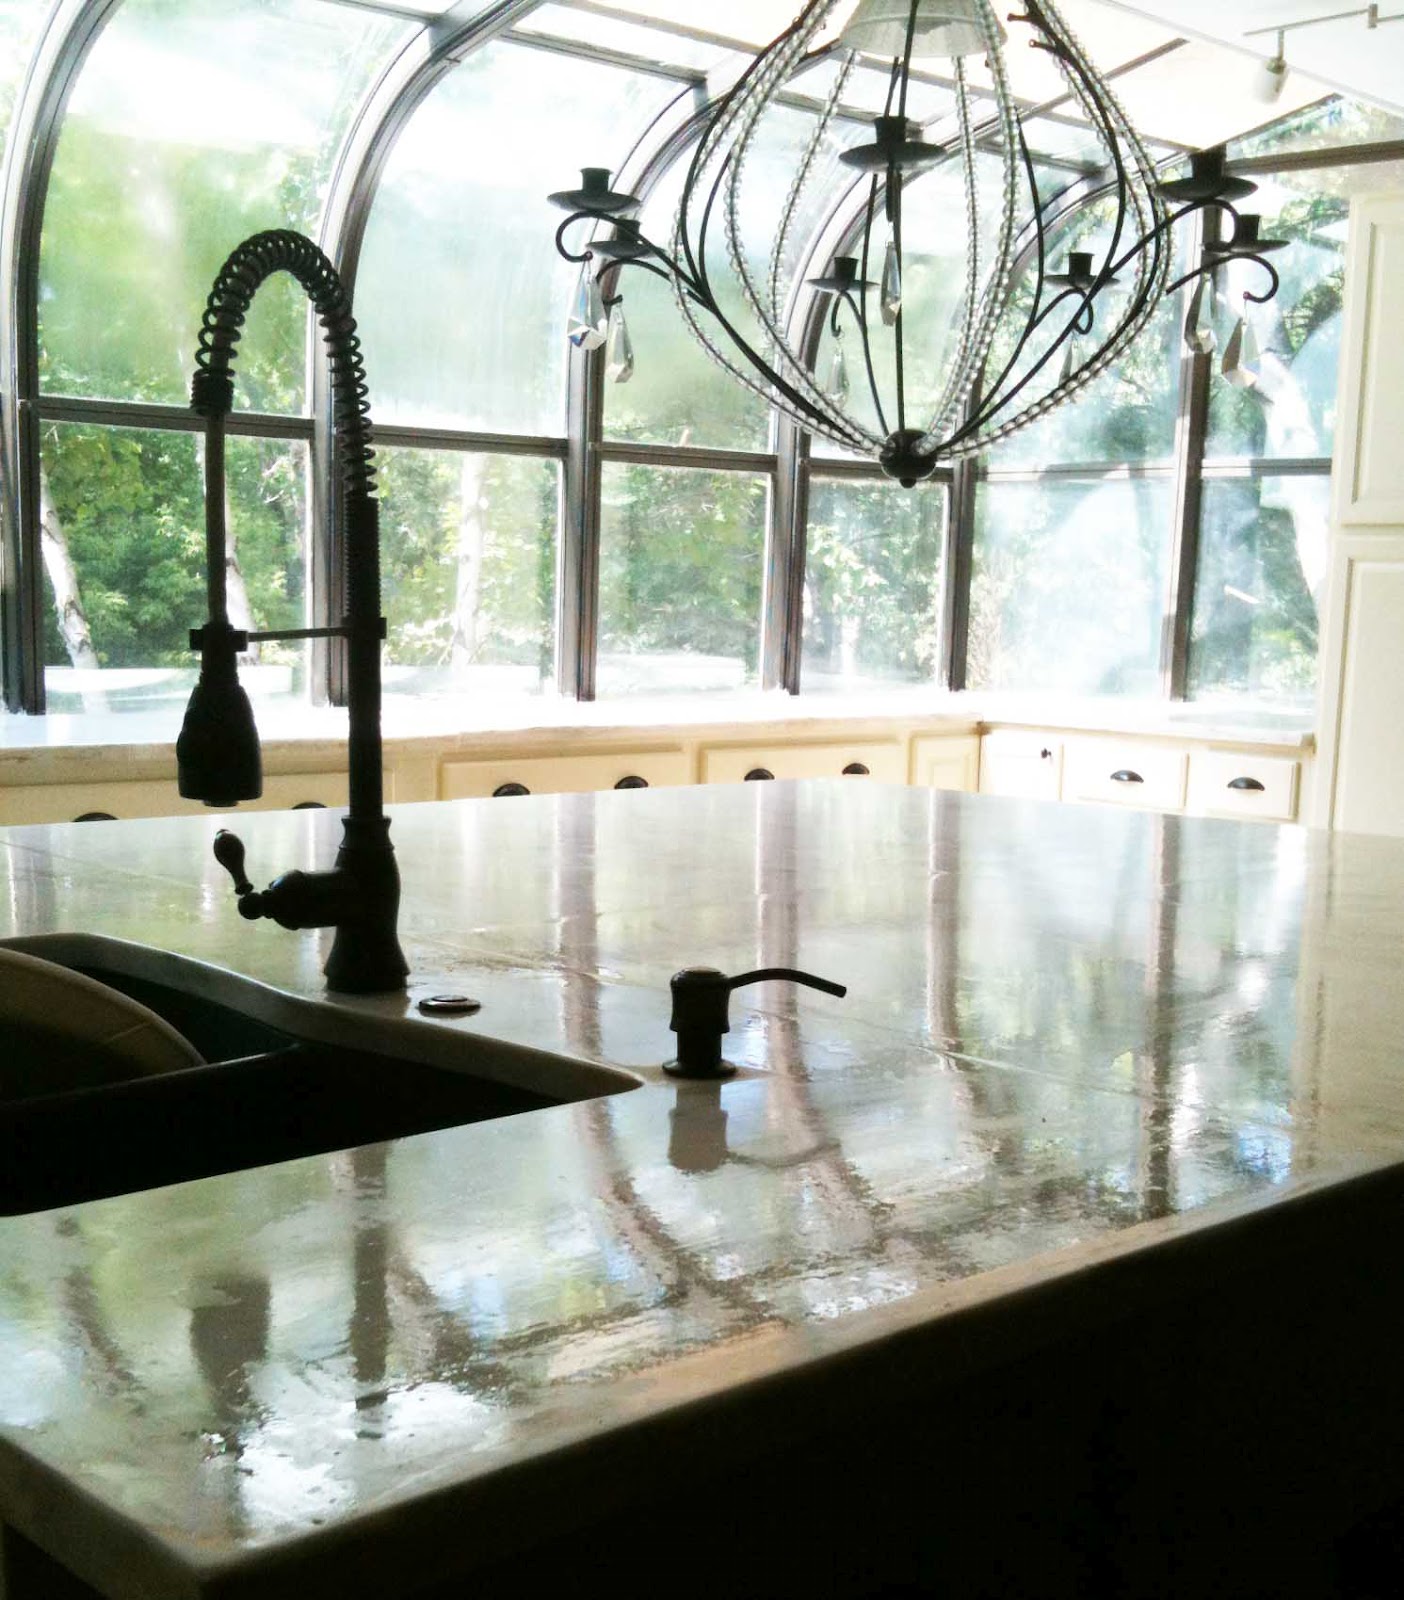
Northeast of Eden Reseal Marble countertops DIY

Northeast of Eden Reseal Marble countertops DIY
Northeast of Eden Reseal Marble countertops DIY
